Rear view mirror glue not working because the wrong adhesive was used, the windshield or metal button wasn’t cleaned properly, or the glue didn’t have enough time to cure. Heat, cold, and vibration can also weaken the bond. The good news is that with the right adhesive kit, proper surface prep, and a little patience, you can reattach your rear-view mirror securely so it won’t keep falling off. This guide explains the causes, step-by-step fixes, and preventive tips to make sure your mirror stays in place for the long run.
Table of Contents
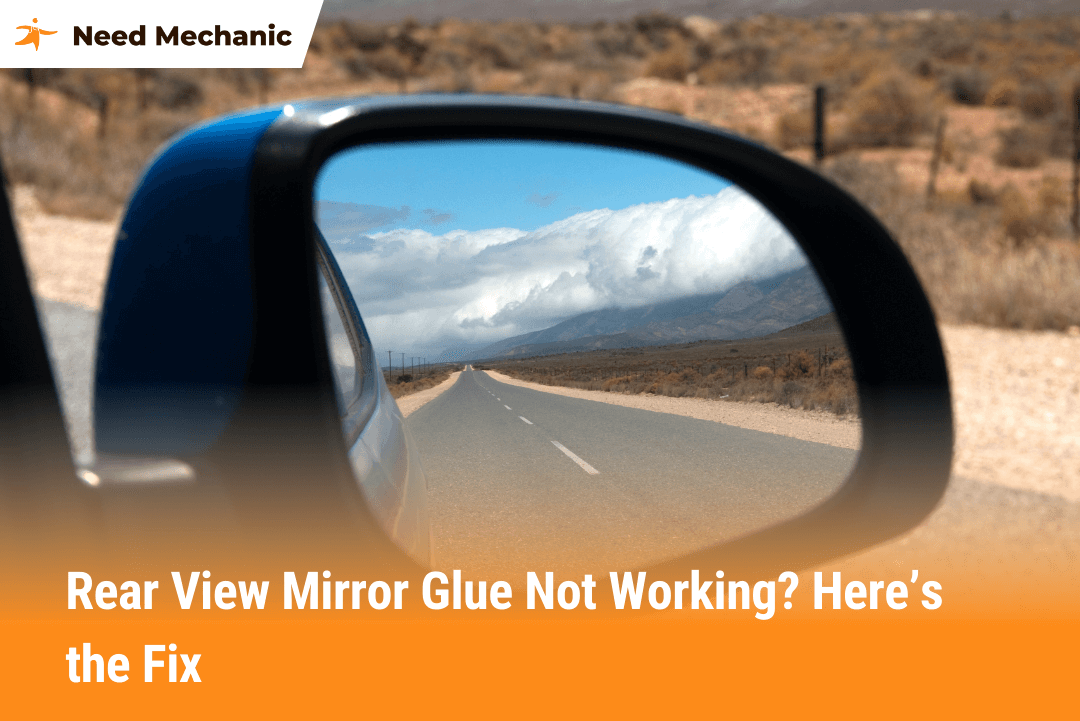
Why Rear-View Mirror Glue Doesn’t Work
Here are the most common reasons the adhesive keeps failing:
- Wrong adhesive type – Household glues or super glue don’t bond well with glass and metal. You need a specialized rear-view mirror adhesive.
- Dirty or oily surfaces – Dust, fingerprints, or old adhesive residue prevent strong bonding.
- Temperature changes – Heat from the sun and cold nights expand and contract the glass, breaking weak bonds.
- Improper application – Skipping curing time, rushing the process, or using too much glue can cause failure.
- Old or expired glue kits – Adhesives lose strength if stored too long.
Understanding these causes helps you avoid repeating the same mistakes.
Car Related Quick Fix – GMC Key Fob Battery Replacement Guide
Step-by-Step Fix: How to Reattach a Rear-View Mirror Properly
If your rear view mirror glue is not holding, follow this step-by-step method to fix it securely:
1. Gather the Right Materials
You’ll need:
- A rear-view mirror adhesive kit (available at auto parts stores).
- A razor blade or scraper.
- Rubbing alcohol or glass cleaner.
- A marker to note mirror position.
2. Mark the Correct Spot
Before removing the old mirror button (the small metal piece that sticks to the glass), use tape or a marker on the outside of the windshield to remember its exact spot.
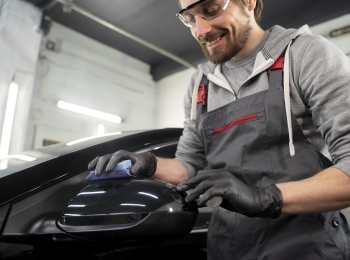
3. Clean the Surface
Use a razor blade to remove old glue from both the glass and the metal button. Wipe both surfaces with rubbing alcohol to ensure they’re free of grease or dust. Clean surfaces make the biggest difference in whether the adhesive will hold.
4. Apply the Adhesive
Follow the adhesive kit instructions carefully. Usually, this means applying a small amount of glue to the metal button, pressing it against the windshield, and holding it in place for 30–60 seconds.
5. Let It Cure
This step is critical. Most adhesives need several hours (often overnight) to fully cure. If you attach the mirror too soon, the weight will break the bond.
6. Reattach the Mirror
After the glue has fully cured, slide or screw the mirror back onto the metal button. Your mirror should now stay firmly in place.
Mistakes to Avoid When Re-Gluing a Rear-View Mirror
Many drivers unknowingly make mistakes that cause their mirrors to keep falling off. Avoid these common errors:
- Using super glue or epoxy instead of proper mirror adhesive.
- Skipping the cleaning step. Oils and dust will ruin the bond.
- Applying too much glue. More adhesive doesn’t mean stronger, it often weakens the bond.
- Not waiting long enough for curing. Patience ensures durability.
- Ignoring temperature conditions. Apply glue in moderate weather, not under extreme heat or freezing cold.
Alternative Solutions if Glue Still Doesn’t Work
If you’ve tried adhesive multiple times and your rear view mirror glue is not working, there are other options:
- Replacement adhesive kits – Sometimes switching brands helps, as not all adhesives perform equally well.
- Mechanical mounting brackets – Some aftermarket kits use clamps instead of glue.
- Professional installation – Auto glass shops can reattach mirrors with industrial-grade adhesive.
These options may cost more but give long-lasting results when DIY solutions fail.
Preventive Tips to Keep Your Mirror Secure
Once you fix the problem, you’ll want to prevent it from happening again. Here are a few simple steps:
- Always use rear-view mirror-specific adhesive kits.
- Avoid leaving your car in direct sunlight during the curing process.
- Keep your windshield clean and residue-free where the mirror attaches.
- Periodically check that the mirror isn’t loosening.
Final Thoughts
Dealing with a rear view mirror glue not working problem can be annoying, but it’s also very fixable. The key is using the right adhesive, preparing the surfaces correctly, and allowing proper curing time. When done right, your mirror will stay firmly attached for years, making driving safer and less stressful. If adhesives keep failing, exploring alternative mounting options or professional help will give you peace of mind.
By following these steps, you can stop wasting time reattaching your mirror and enjoy a clear, reliable view of the road behind you.
FAQs
Why does my rear-view mirror glue keep failing in hot weather?
High cabin temperatures cause the glass to expand and standard adhesives to soften, leading to a shear failure. The most common culprit is using household super glue or epoxy, which lack the thermal expansion properties of specialized structural adhesives. To ensure a permanent bond, you must use a professional-grade rear-view mirror adhesive kit specifically designed to handle the extreme temperature fluctuations between a freezing windshield and the baking sun.
Can I use Gorilla Glue or Super Glue for a car mirror?
You should never use standard Super Glue or Gorilla Glue for a rear-view mirror because these cyanoacrylates are too brittle and cannot handle the vibration or UV exposure on a windshield. NeedMechanic warns that using the wrong glue can actually damage the laminate of your windshield or leave a stubborn residue that makes future repairs impossible. Always use a dedicated rear-view mirror adhesive kit that includes a primer or activator to create a chemical bond between the metal button and the glass.
How long should rear-view mirror glue cure before I attach the mirror?
While most adhesives feel tacky within minutes, you must wait at least 15 to 30 minutes before sliding the mirror onto the bracket, and ideally 24 hours before making any adjustments. NeedMechanic highlights that the weight and leverage of the mirror assembly will immediately pull a fresh bond apart if it has not fully cross-linked. For the best results, glue the metal button in the evening and wait until the following morning to finish the installation.
How do I remove old rear-view mirror glue from a windshield?
To remove stubborn residue without scratching the glass, use a fresh, single-edge razor blade held at a 45-degree angle to carefully shave the old adhesive off. NeedMechanic suggests softening the residue first with a small amount of acetone or high-percentage isopropyl alcohol. It is vital to remove 100% of the old material, as new adhesive will not bond to old glue, which is the leading cause of repeat falling mirrors.
Why won’t my rear-view mirror stick even after cleaning it?
If the bond fails immediately after cleaning, you likely have an invisible film of glass cleaner wax or oils from your fingertips on the surface. NeedMechanic recommends a two-step prep: first, scrape with a razor, then scrub the metal button and glass with 90% isopropyl alcohol using a lint-free cloth. Avoid using standard blue window cleaners, as many contain surfactants or silicone that act as a release agent for the glue.
What is the best temperature to reattach a rear-view mirror?
For the chemical reaction in the adhesive to work correctly, the windshield temperature should be between 50°F and 75°F. If it is too cold, the glue will not cure; if the glass is hot from the sun, the adhesive will flash dry before it can create a strong bond. If you are working in summer, park the car in the shade or a garage and letting the glass cool down completely before starting the repair.
Do I need to apply adhesive to the mirror or the glass?
You must apply the adhesive only to the small metal or plastic mounting button, never to the mirror assembly itself. Most kits require you to apply an activator or priming agent to the glass first, let it dry for a minute, then apply a single drop of adhesive to the center of the button. Pressing the button against the glass spreads the glue into a thin, even layer, which is significantly stronger than a thick, messy application.
Can I drive my car immediately after gluing the mirror back on?
You can drive the car if the metal button is glued on, but you should not attach the heavy mirror housing to that button for several hours. Driving causes engine vibrations and road shocks that will micro-fracture the adhesive bond while it is still in its liquid or semi-solid state. To avoid having to do the job twice, advise performing this fix when the car can remain stationary for at least 6 hours.
What should I do if the metal mirror button is stuck inside the mirror arm?
Many drivers struggle because they try to glue the entire mirror assembly to the glass at once. You must first remove the metal button from the mirror bracket—usually by loosening a small set screw with a hex key or sliding it out of a spring clip. Gluing just the button allows you to apply the necessary pressure required to set the bond properly without the weight of the mirror interfering.
Why does my mirror keep falling off even with a professional kit?
If a professional kit fails, the most likely cause is an activator error. Most kits come with a small felt-tip pen or ampoule of activator that must be applied to the glass. If you skip this step or do not let the activator dry completely, the chemical reaction will not trigger. Additionally, ensure the metal button is facing the right way; installing it upside down is a common mistake that prevents the mirror from sliding on later.


Leave a Reply